
How to Carve a Turkey
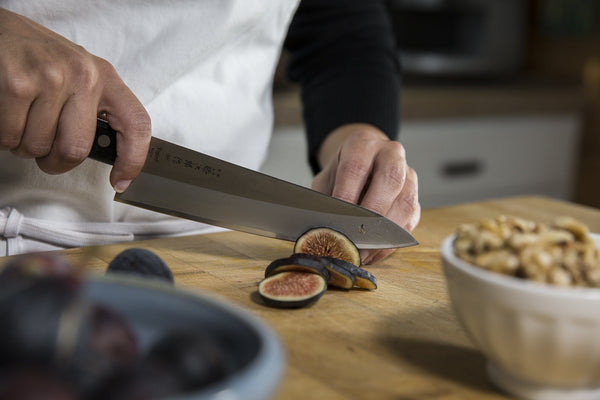
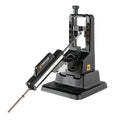
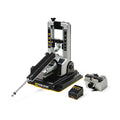
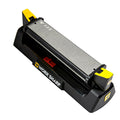
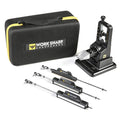
by Martha Stewart, whose article can be found Carving Techniques Thanksgiving is just around the corner and that means one thing: turkey. Carving a turkey may happen only once or twice a year, but because the cut-up bird is usually on full display you want it to look good. Carving isn't difficult, but there is a definite way to approach it that will yield nicely portioned slices. While it may seem obvious, starting with a newly sharpened knife is the first step in carving. Our automated sharpener helps home cooks get the perfect sharp with ease, equipping you to make carving this year successful.
Step 1: Preparation
Before carving the turkey, let it stand at room temperature for 20 to 30 minutes to allow the juices to saturate the meat; then transfer the turkey from the roasting pan or presentation platter to a carving board (use layers of paper towels or two clean kitchen towels to protect your hands from the heat). The best way to hold the turkey steady is to use your hand -- a carving fork doesn't provide the same grip and will pierce and tear the flesh. Next, cut through the trussing with scissors, taking care to remove all of the string.
Step 2: Remove Drumsticks
Remove the drumsticks first. Place the knife against the thigh, and cut down to expose the leg's second joint.
Step 3: Sever Drumsticks
Apply pressure at the joint with the knife point; twist the knife, and cut through to sever the drumstick. Repeat with the other drumstick.
Step 4: Slice Neck Cavity
Slice open the neck cavity with an oval incision that allows you to remove the stuffing while leaving the skin intact.
Step 6: Slice Thigh Meat
Slice the thigh meat from the bone (the dark meat should be tender from resting in the juices).
Step 7: Slice Breast
Place the knife horizontally at the bottom curve of the bird's breast, and slice in toward the rib cage to create a "guide cut." Then make a slice from the top down alongside the rib cage. Be sure to cut carefully.
Step 8: Create Slices


Find the best sharpener for me
Answer a few quick questions and we'll match you to the ideal Work Sharp sharpener.

Subscribe for sharpening tips & updates
Join the Work Sharp email list for guides, new products and offers.